Mr. P Helps You Getting to Know Tinkercad!
Tinkercad is an easy to use, yet powerful, 3D design tool. This is the tool we suggest everyone become familiar and comfortable with using to create their 3D designs. You will use Tinkercad in this class to design 3D objects, often called "Things", that can then be printed on one of our many 3D printers in class. Tinkercad can be used to design objects from scratch or modify existing Things (3D files) you find that other people have designed.
Please watch the following video to get to know Tinkercad a bit better:
Please watch the following video to get to know Tinkercad a bit better:
Now, you will create an account on Tinkercad so you can begin exploring this tool.
For best results you may want to use Google Chrome
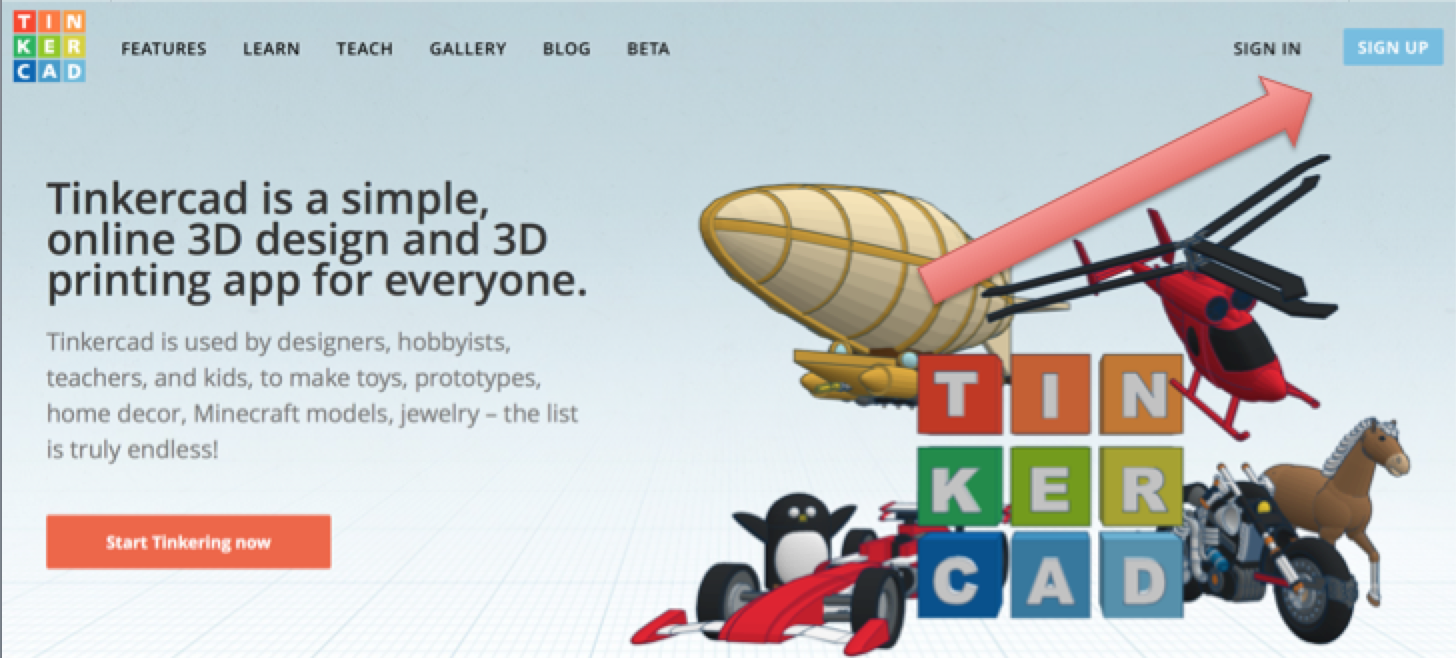
1. Visit https://tinkercad.com/ in a Google Chrome browser.
2. Click on the "Sign Up for a Free Account" button in the top right corner.
For best results you may want to use Google Chrome
1. Visit https://tinkercad.com/ in a Google Chrome browser.
2. Click on the "Sign Up for a Free Account" button in the top right corner.
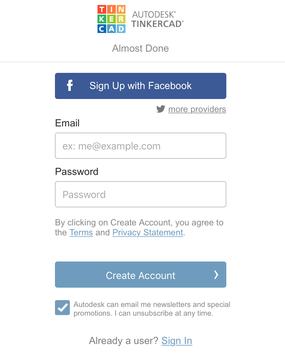
3. Create an account using your email address.
Tinkercad Lessons
Now that you have a Tinkercad account for Mr. Peinert's class, you will walk through some of the tutorials they provide for you in order to become comfortable with the design interface. These tutorials are important because they will teach you exactly how to use Tinkercad to design 3D objects.
When working through these tutorials it is important to pay attention to the Tutorial Instructions, which can be found at the bottom of the screen, and the Control Panel, on the left hand side of the workspace.
When working through these tutorials it is important to pay attention to the Tutorial Instructions, which can be found at the bottom of the screen, and the Control Panel, on the left hand side of the workspace.
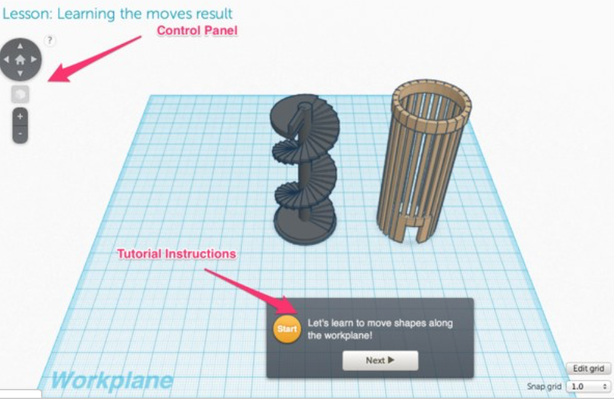
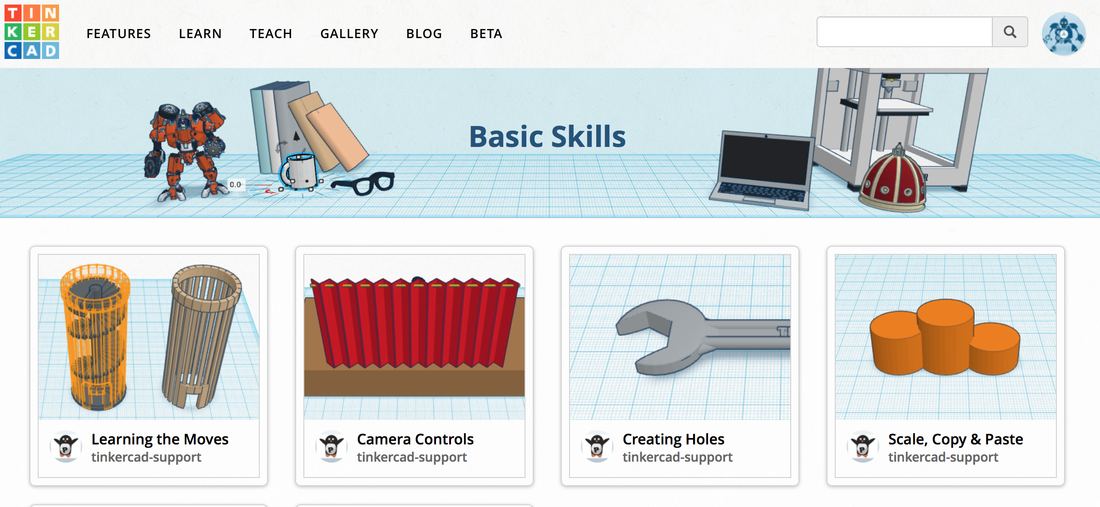
Visit the Quests page and learn the ropes by completing the following lessons - IN ORDER:
- Learning the Moves
- Camera Controls
- Creating Holes
- Scale, Copy, and Paste
- Key ring, letters!

The Ruler
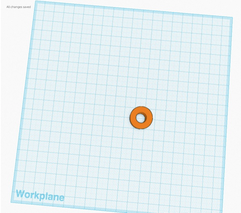
The image below shows a typical design when you click on it in Tinkercad without a ruler. There is no information about the size of your design.

Without a ruler, it can be very hard to know how what size your design will end up being. In addition to letting you know the size of your design, a Tinkercad ruler also makes it very easy to adjust the size of elements in your design.
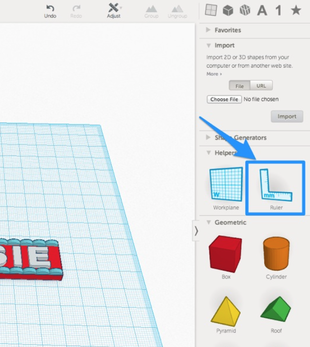
To add a rule, find the ruler tool in the "Helpers" section of the tool palette and drag it anywhere onto your Tinkercad workplane. I usually put my ruler somewhere near the bottom left hand corner.
To add a rule, find the ruler tool in the "Helpers" section of the tool palette and drag it anywhere onto your Tinkercad workplane. I usually put my ruler somewhere near the bottom left hand corner.
|
|
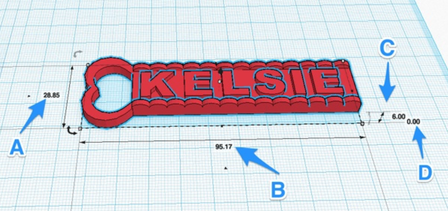
With a ruler on the workplane, when you click on your design now, you will se the measurements of each dimension. In this image, the letters correspond to the following measurements:
- A = Depth
- B = Width
- C= Height
- D= distance from the platform (this should always equal 0 or you could run into issues printing).
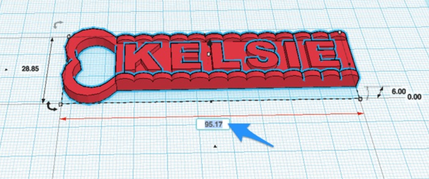
Another great feature of the ruler is that you can modify a measurement to an exact number by clicking on the measurement number you want to change. You can then enter the new value. This is useful when you need near-exact measurements.
The Grid
Grid Size
You can modify the size of the grid in Tinkercad. This is helpful when you want to have design constraints or make sure that your design will fit on your printer without having to scale it. I find that a lot of times, youth will design to fill the entire grid so it's important to try and set the grid size to something that will fit on the printer.
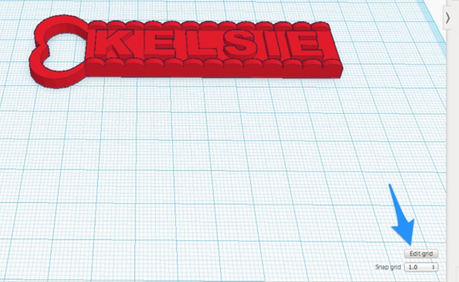
To modify the grid size, click "Edit Grid" in the bottom right hand corner of the workplane.
You can modify the size of the grid in Tinkercad. This is helpful when you want to have design constraints or make sure that your design will fit on your printer without having to scale it. I find that a lot of times, youth will design to fill the entire grid so it's important to try and set the grid size to something that will fit on the printer.
To modify the grid size, click "Edit Grid" in the bottom right hand corner of the workplane.
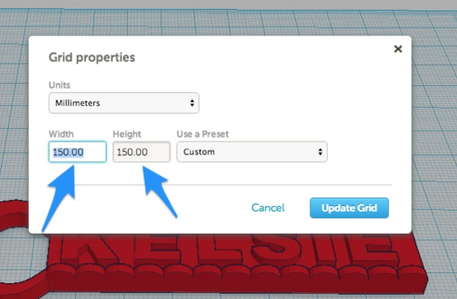
You can then enter the dimensions of the new grid that you would like to use:
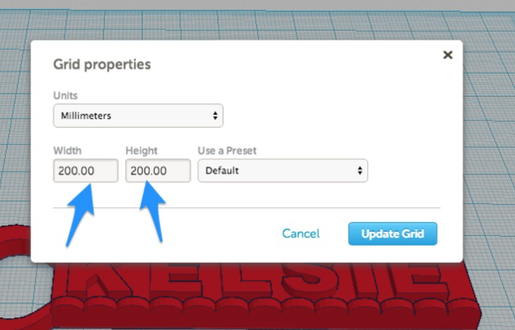
For instance, if I wanted to keep the design constrained to print on a Printrbot Metal Simple, I would use the following settings:
Snap
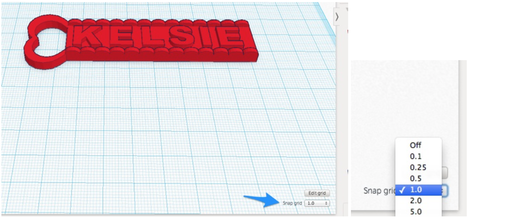
To GridBy default, Tinkercad will move your designs by 1mm increments. This may not provide you with the level of detail that you want so you can adjust the "Snap Grid" setting to be larger, smaller or non-existent. This setting is right below the "Edit Grid" setting:
To GridBy default, Tinkercad will move your designs by 1mm increments. This may not provide you with the level of detail that you want so you can adjust the "Snap Grid" setting to be larger, smaller or non-existent. This setting is right below the "Edit Grid" setting:
Alignment
The alignment tool helps you align two objects in relationship to each other. A use case would be, if you wanted to create a hole through the center of a cylinder (or any shape).
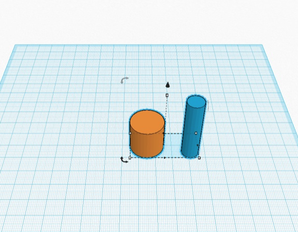
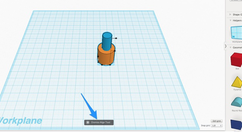
1. You would create the the two objects that you want to align and then select them both.
The alignment tool helps you align two objects in relationship to each other. A use case would be, if you wanted to create a hole through the center of a cylinder (or any shape).
1. You would create the the two objects that you want to align and then select them both.
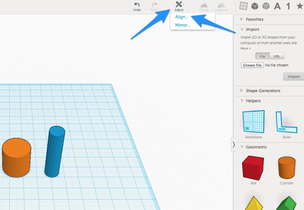
2. From the "Adjust" menu at the top, select "Align.."
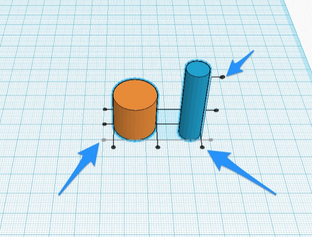
3. Alignment bars will surround the objects in all 3 axis.
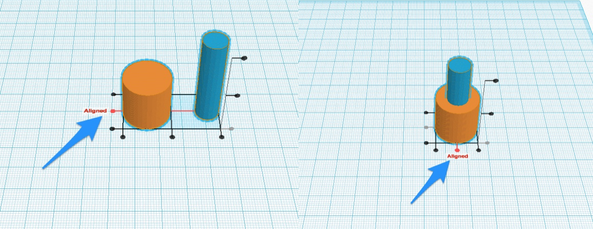
4. You can click to choose to align the edges or the center in any of the axis. Here I am going to choose to align the center points in the X and the Y axis.
5. Once aligned, you can click the "Dismiss Align Tool" item at the bottom of the work area.
6. To complete the hole, convert the center object to a hole.
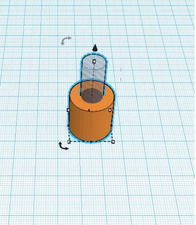
7. Then group the objects together.
Create a Custom Name Keychain
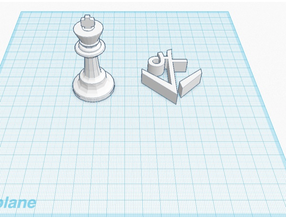
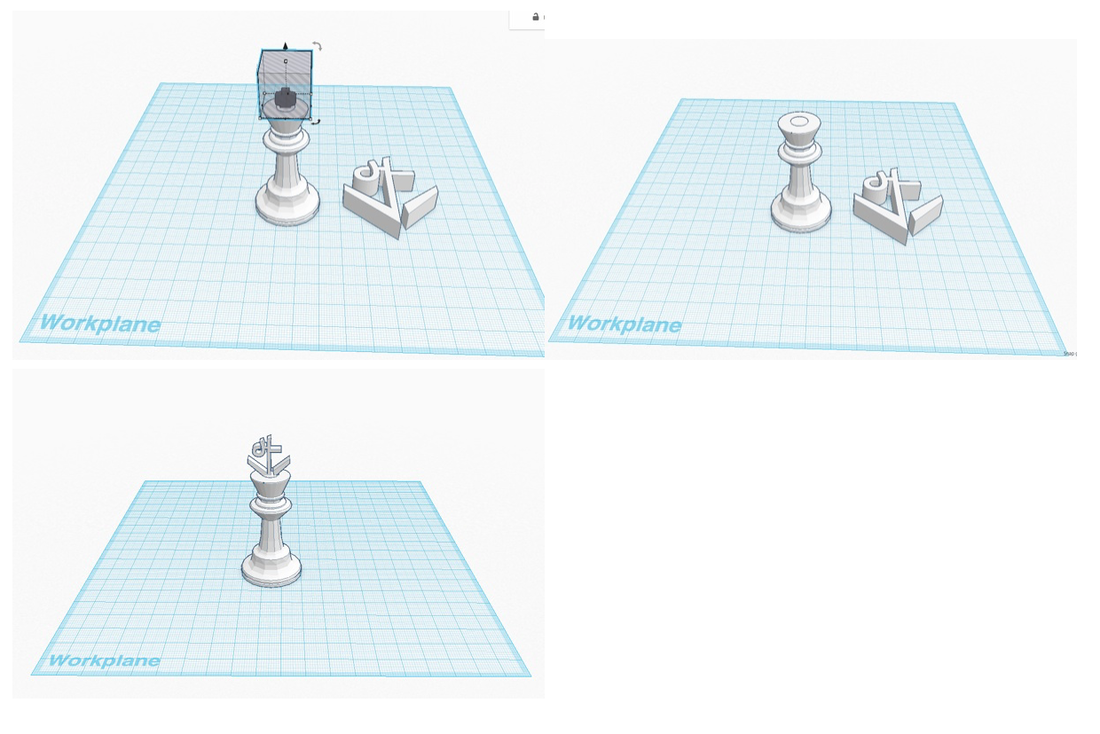
After you complete the tutorials listed above, you will have the skills necessary to create a custom keychain in Tinkercad. This will be the first object you print on the 3D printer. You will be creating a custom keychain with your name on it that will look something like this when you are finished:
Following the lesson Key Ring, Letters, create your own custom keychain with your name or initials.

Printing from Tinkercad
1. When you are ready to print your design, save and rename the design by following these steps:
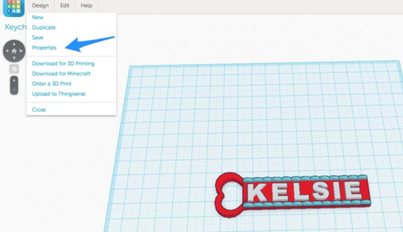
- Click on "Design" in the menu in the top left
- Choose "Save" from the dropdown menu
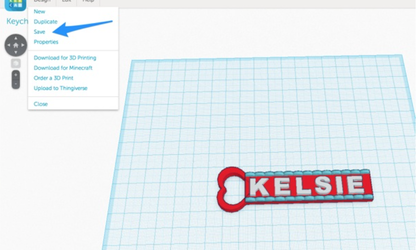
- on "Design" again and choose "Properties"
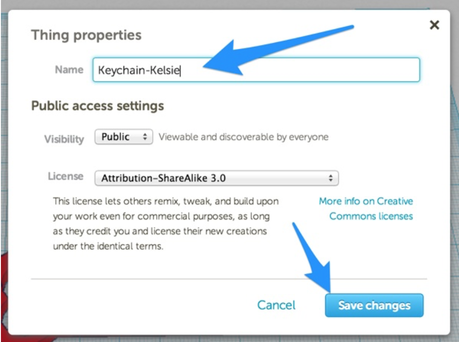
- Change the design's name to to help you identify what it is and who it belongs to: (designname)-(firstname) ex. keychain-kelsie
- Click "Save Changes"
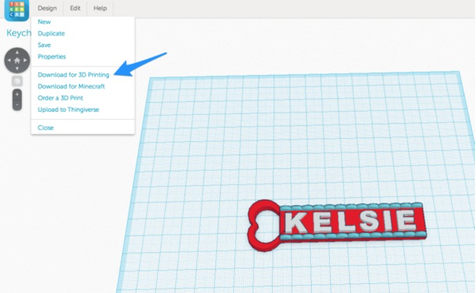
2. Download your keychain for printing!
- Click "Design" in the menu
- Choose "Download for 3D Printing" from the dropdown
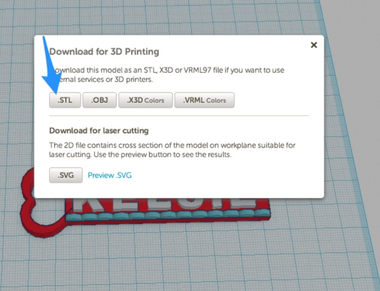
- Choose ".STL" from the pop-up window
3. Once your download is complete, check in Finder on the computer to make sure you can find the file you just downloaded.
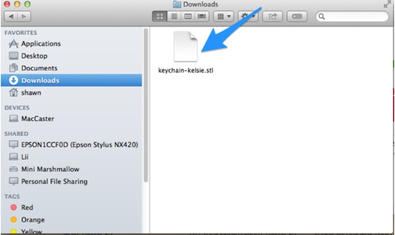
4. This file can now be loaded into your Printer Controller Software for printing.
Importing
You can import either 3D .stl files or 2D .svg files into Tinkercad to include in your design. This is really useful for creating "remixes".
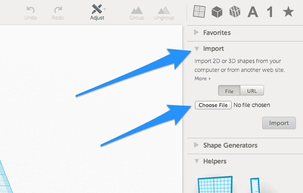
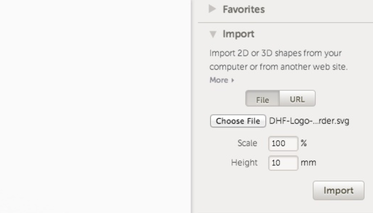
1. The Import dialog in Tinkercad is on the right hand side and allows you to choose a file.
1. The Import dialog in Tinkercad is on the right hand side and allows you to choose a file.
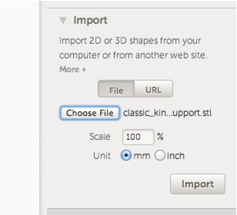
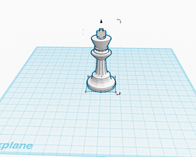
2. If you select a 3D file (a .stl), you will have the option to scale that file as it is imported (you can also scale it once it has been imported using the regular scaling tools in Tinkercad).
3. After importing, the file will show up in your work space.
4. If you select a 2D file (a .svg), you will have the option to scale and also choose how high that 2D design will extruded to create a 3D object.
5. After importing, the 2D design will be extruded to add height and will show up in your work space.
6. You can now manipulate the objects to create your own creation!
Keyboard Shortcuts
For those of you who prefer to use your keyboard to control an interface, Tinkercad has a full host of keyboard shortcuts that you may find valuable.
The full list of keyboard shortcuts can be found on the Tinkercad blog, at this link: Keyboard Shortcuts for the Editor
The full list of keyboard shortcuts can be found on the Tinkercad blog, at this link: Keyboard Shortcuts for the Editor
