Creating Historical Coin Replica 3D lesson
Objective
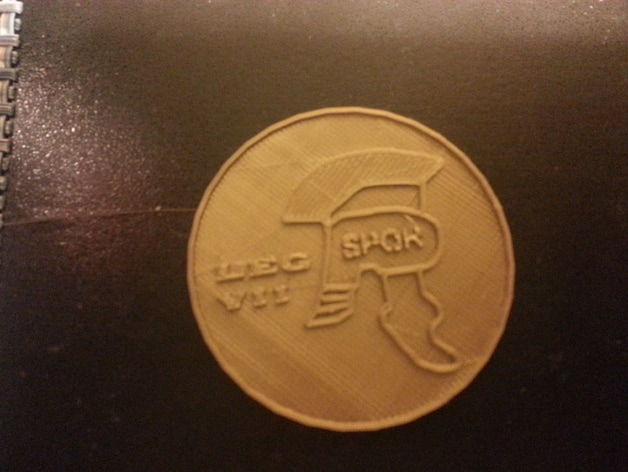
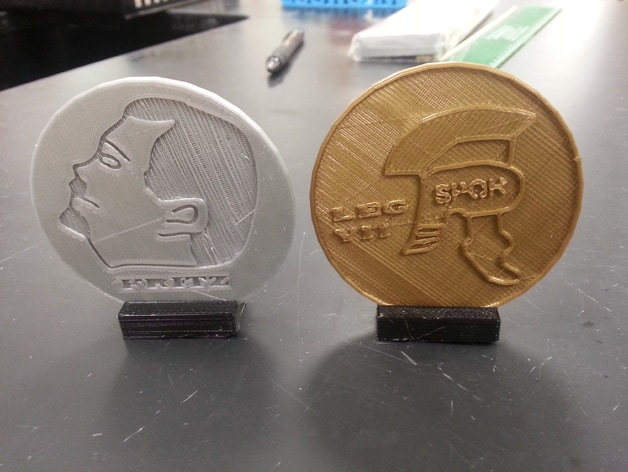
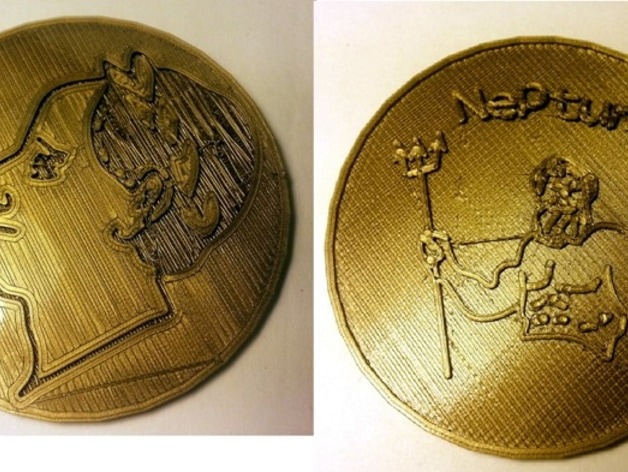
Students will create and print a coin in the style of any topic in history - Example: Roman, Greek, etc.
Students will create and print a coin in the style of any topic in history - Example: Roman, Greek, etc.
Preparation
This project will be completed at the end of any social studies unit. example: ancient Rome. Students will have already completed some 3D printing projects so they will have limited experience and skill with Tinkercad.
This project will be completed at the end of any social studies unit. example: ancient Rome. Students will have already completed some 3D printing projects so they will have limited experience and skill with Tinkercad.
Here Is What You Need To Know!
1. You've just become Emperor of Rome. One of your first acts Emperor will be to mint coins to celebrate the start of your reign.
One side of the coin will of course show your face in profile. For the reverse side you will choose an image that you think
symbolize the qualities of the Roman Empire or the values you will promote during your reign.
2. Take a picture of each student in profile and upload to Google Drive
3. Students will create a Google Drawing and insert their picture
4. Students will trace the outlines of their profile using the Line tools, such as Scribble. Lines should be thicken to a weight of 8
pixels. Shade in dark areas, like hair.
5. Delete the original picture and finish off your drawing. Your drawing should be black and white. You can add a text box with your
name or other legend if you want.
6. Download your profile drawing as a JPG and use an online image converter to convert it to SVG
7. Create an image for the reverse side of the coin. You can draw it from scratch or trace an image you find on the Internet.
8. Download the reverse image and convert it to SVG
9. Go to Tinkercad.com and create a new design
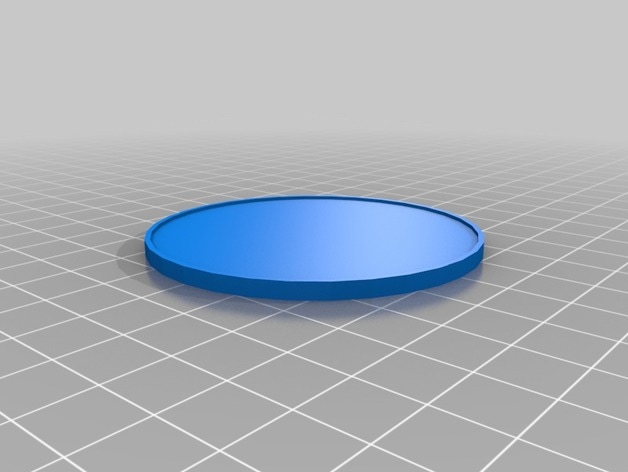
10. Import the blank coin
11. Import your drawing, try a size of about 10%
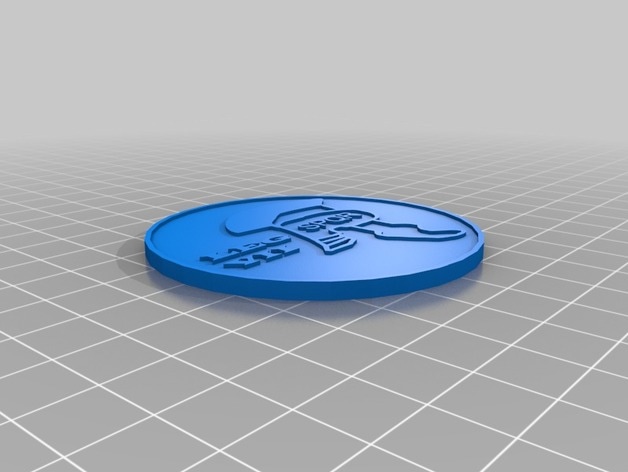
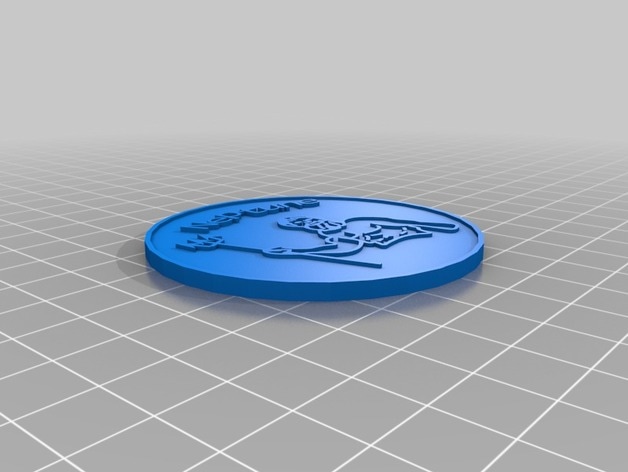
12. Make the profile drawing 1 mm high and make it a hole (negative space). Center it on the coin, it will be engraved on the bottom
13. Make the reverse image 2 mm high and raise it to the top of the coin so it is embedded in the top and sticks out 1 mm above the
top surface
14. Download and print your coin
15. Show your coin to your classmates and explain why you chose the image you used
Project .STL Downloads
|
|
|
| ||||||||||||||||||||||||||||
