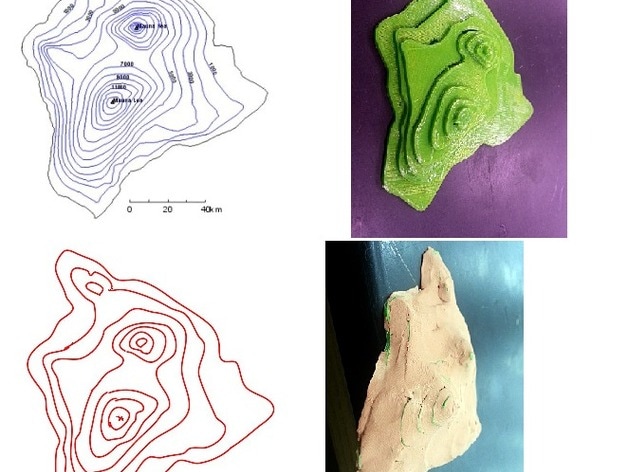
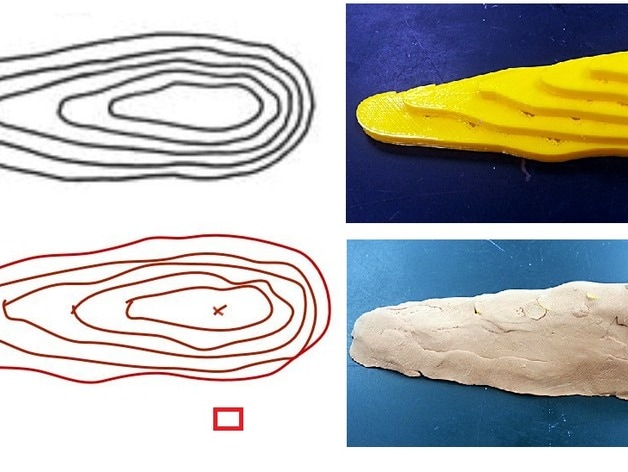
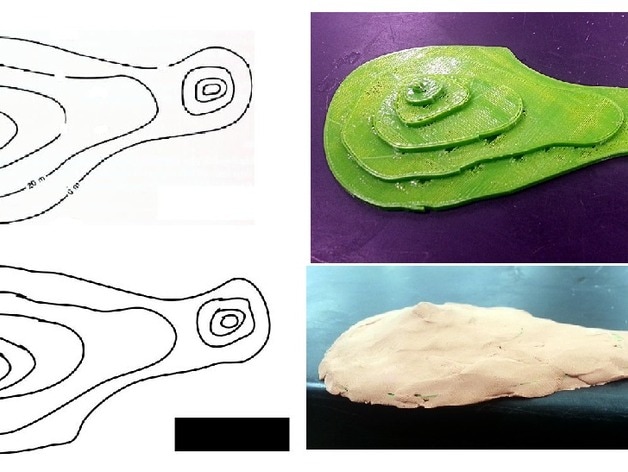
3D Print a Topographic Map Lesson
Objective
Create a 3D model of a topographic map.
Create a 3D model of a topographic map.
Preparation
Students should understand how to read topographic maps. Some experience with Tinkercad is recommended.
Students should understand how to read topographic maps. Some experience with Tinkercad is recommended.
Here Is What You Need To Know!
1. Find an image of a topographic map you'd like to model in 3D
2. Open a new Google Drawing
3. Insert your topographic map
4. Draw a square in the corner of the drawing. This will be used later to make sure the contours are aligned properly.
5. Use the Line --> Scribble tool to trace the contours
6. Delete the topographic map, leaving behind the traced contours
7. Use File --> Download as --> Scalable Vector Graphics (.svg) to save the first contour, give it a sensible name like contour1
8. Delete the first contour and repeat step 7 for each contour until all have been downloaded as SVG files
9. Go to Tinkercad and create a new design
10. Import the first contour with a height of 2 mm, or whatever height you want for the contour interval
11. Import the next contour with a height 2x higher than the first. Click on Hole to make it transparent. Use the square you drew in
step four to align the contours correctly. The squares of contour 1 and 2 should be matched up exactly.
12. Use Color to change the contour back to solid instead of transparent Hole. Repeat steps 11 and 12 for each contour. it may be
helpful to lock the completed contours as you finish them. Each contour should be he larger than the last. For example if your
contour interval is 2 mm they should be 2 mm, 4 mm, 6 mm, etc.
13. Delete the square that was used to line up the contours. You can do this by covering it with a block and changing the block to
Hole.
14. Download your model as an STL file and print.
15. You can use clay to skin the. Keep the layer of clay as thin as possible so that it fills the area between the edges of the contours
in a smooth slope.
Example Downloads Below:
Example#1 |
|
Example#2 |
|
Example#3 |
| ||||||||||||||||||


